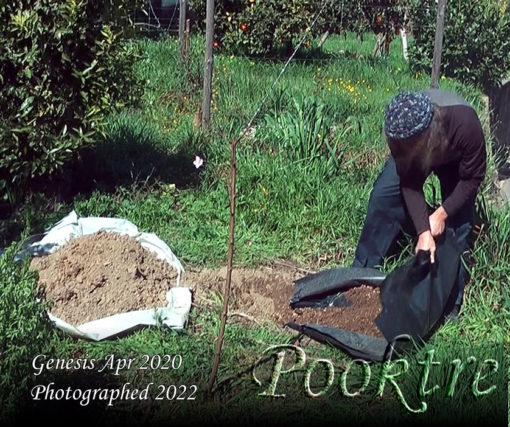
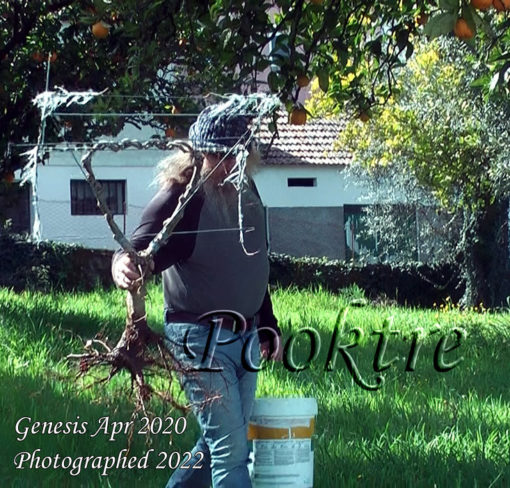
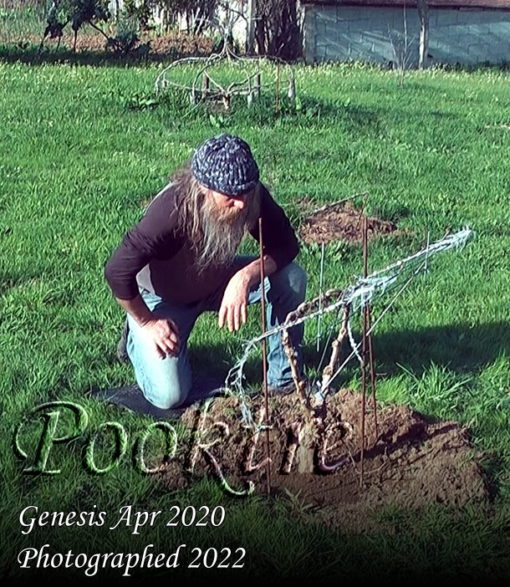
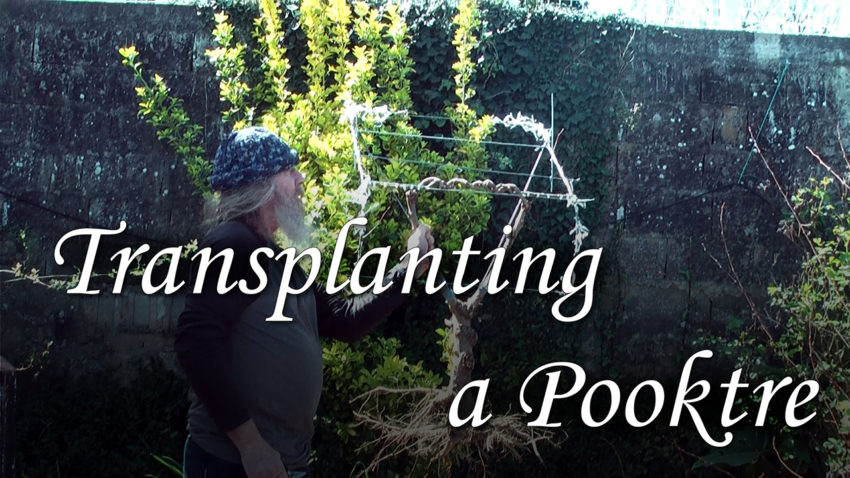
We recorded replanting our 2020 rocking chair. It’s been uploaded to YouTube
While working on the video of transplanting our tree, We noticed that some things just didn’t get talked about. So we’re taking the time to do so now.
 Transplanting
a tree is a rewarding experience. It can also be challenging. There are many reasons why you may wish to transplant a tree. To name a few, aesthetics, wrong location, the canopy needs more space, etc…
Once you know it’s necessary for a tree to be transplanted, you’ll need to know if it is deciduous or evergreen. This will affect when and how you do the transplant. Our trees are deciduous and we have found a process that has been successful with all our transplants over the many years.
The healthier the tree the better it will handle the stress of being moved. There are things we do to mitigate that stress. The best transplanting time is from mid-winter till early spring. Even when the tress’s leaves are just budding it is still ok to move. You want to avoid transplanting when the tree is actively growing.
You will have the best results if you transplant bare-rooted trees that are dormant. When a tree is dormant, it is not taking up water and nutrients for growth over the course of the winter once they have dropped its leaves, and its root systems can become less sensitive to damage from digging. Transplanting evergreen trees in winter requires more care because the roots of such trees do not go dormant.
With a pointy stick, or very carefully with a metal screwdriver we patiently and carefully start digging the soil away from the tree’s trunk out along its root system. Almost like being in an archaeological excavation site, on your hands and knees follow each root. You have to be really careful not to damage the roots while you are digging. Get as much of the fine feeder roots as possible without damaging them so that they can continue growing once replanted.
The roots are where a lot of the plant energy is stored, they are the ones that are responsible for gaining access to the building blocks of life and then stabilizing the tree while it grows. By leaving the pruning of the roots till just before moving the tree, we reduce the amount of stress that the tree is under and increase the chances of a successful transplant.
The size of the tree and your energy levels dictates how long this part of the process can take. For a shaped tree, like in our video. . It took only a few hours to clear a good portion of the root system. With our larger trees, they have taken a few days to clear enough roots to transplant. We would cover the roots that have been exposed by the excavation with dampened hessian cloth/bags while we weren’t working in that area.
 Once a large part of the root system is exposed, it gives an idea of the shape needed for the hole at the tree’s new location. When choosing the new site for your tree, be aware of the impact of other surrounding trees, both above and below ground. A good rule of thumb is an established tree’s root system is two and half times its height.
The first thing to consider before you dig at the new location is the direction that your tree will need to face. Especial with shaped trees. The design is an important aspect when deciding on orientation.
For the northern hemisphere, shorter branches to the south and the taller branches to the north. So as the taller branches don’t shade the shorter branches. Just reverse for the southern hemisphere. Evaluate your planting site with this in mind.
If you need to transport the tree some distance to its new home, with some exposure to the elements on the journey. For example a flatbed truck. There are a couple of things you can do to protect your tree from the elements during transplantation:
- Drape/lightly wrapped hessian dampened cloths over all of the root system. Use as many pieces of fabric as you need. This will help keep the roots hydrated.
- Then use a large tarp or cloth to secure the fabric in place. Then being mindful that you don’t want the tree to fall off the bed of the truck or cause too much damage to the tree, tie it down for the trip.
If you bought a tree in a pot, you can remove the tree from its container by,
- Put two fingers on either side of the trunk of the tree, with your hand covering as much of the soil at the top of the pot as possible.
- Turn the pot upside down, with your other hand on the bottom of the pot and give a short firm jolt.
- If that doesn’t work, use a pair of pruners to cut away the container.
- Leave matted roots alone—these should not be separated before planting.
- That little root system in the pot will become just a tiny grafted section within the mature tree’s root system.
- Least harm soonest mended.
In our case, we just needed to carry our tree from its starting place in our small house yard to our large open area across the road. You may have noticed in the video that we used water to help the soil settle while we planted the tree in its new home. Doing this.
- Hydrates the roots
- Watering in as you backfill it ensures that there are no air pockets.
 After the transplanting process is completed, mulch well 1 meter all around the tree if the weather is dry water every few days. Remember with the mulch to leave some space around the base of the tree. Once the planting part is done then there is the time span where we nurse the tree along for a while to help the roots of the tree re-establish themselves. We do a watering to help the soil form back into a cohesive state. We also like to use our mown grass as mulch from the yard.

